Headline

An ISO image is an archive containing an entire collection of data present in the CD/DVD and has a file extension .iso e.g. Microsoft Office 2007.iso. Such files can be extracted; burned to CD/DVD; mounted on virtual ROM and even transferred or mounted on flash drives.
Unlike CD/DVD which can be copied to the hard disks, some important copyrighted discs such as printer, antivirus, premium software packages, games, operating systems etc may not allow copying of its contents. If at all, the contents get copied, some files may become redundant. On the other hand, CD/DVD gets damaged due to constant usage or exposure to moisture and ultimately become unreadable. Be cautious not to mount such disc into the CD/DVD ROM as it can result in permanent damage. Finally, if you are using a very old hardware such as printer. There is a high chance of not finding another CD in the market or even a local technician after a system failure. In such cases, creating a back up in the form of an ISO becomes vital.
Some popular software for creating ISO image are Nero, PowerISO, WinxDVD Copy and WinCDemu. The first 3 listed software are premium software and have extra features but for the purpose of this tutorial we shall be using WinCDemu for it is free and easy to use. Here are the steps to create ISO with winCDemu:
Insert the disc.
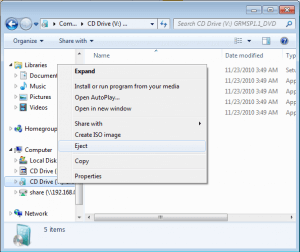
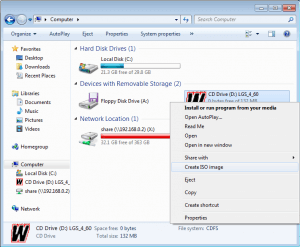
Locate the CD/DVD drive.
Right-click the drive icon and select “Create ISO image”
Type a suitable file name.
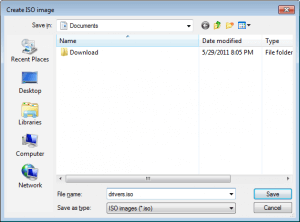
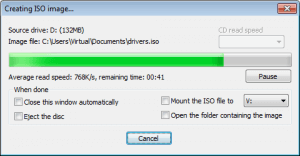
Save and wait until complete.
Alternatively, you can create iso directly from your folder by right clicking the folder and selecting create ISO and following steps 4 and 5.
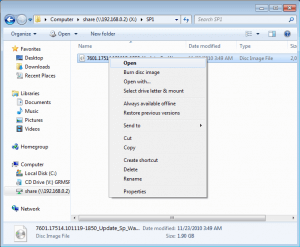
Mounting on virtual ROM is simple. First, make sure the default program to open iso is set to WinCDemu.
Open the iso image by double clicking.
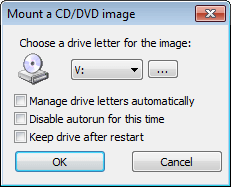
Select a drive letter to mount the optical disk image (iso image). Leave the settings to default if you want to keep the CD drive till shutdown. Alternatively, you can check the ‘keep drive after restart’ to continue using the drive even after you shutdown and restart your pc.
After your work is done, you can eject the virtual ROM by right clicking the drive icon and choosing eject.